
The Wall Wrap Design Process: How We Make Every Space Unique
Every space is different - and the design should reflect that.
At Cullen Ink, creating a custom wall wrap isn’t just slapping a design on a wall. It’s a careful, step-by-step process that ensures your design fits the space perfectly and reflects your brand, message, or school spirit.
Here’s how we bring your walls to life:
Measuring the Space: We start by taking precise measurements of the wall - including height, width, doors and window locations, and any obstacles. Accurate measurements are critical for a flawless installation.
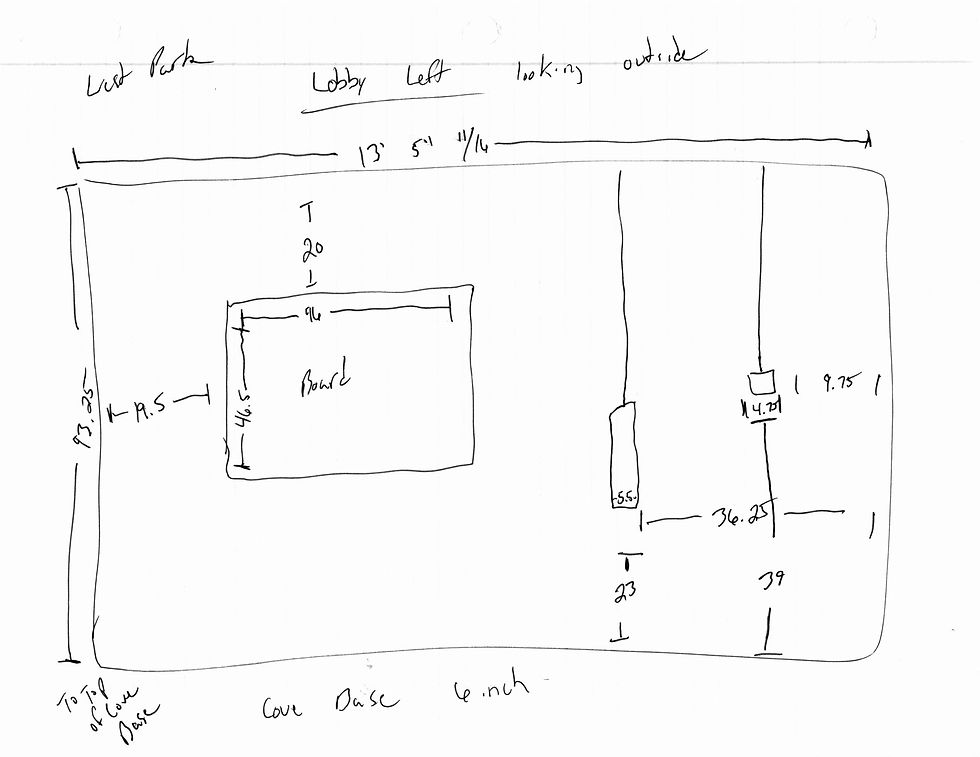
Template Creation: Next, we create a detailed template of the wall, mapping out where each element of the design will go. This ensures that logos, mascots, text, and graphics will line up perfectly once installed.

Digital Design: Using your brand colors, fonts, and imagery, we design a digital mockup. This is where your vision comes to life, and you can see exactly how the wrap will look before production.

Client Review and Adjustments: We share the digital mockup with you for feedback. Adjustments are made to ensure everything meets your expectations and aligns with your brand guidelines.

Production: Once approved, we produce the wall wrap using high-quality vinyl and laminate, preparing it for installation on any wall type - brick, block, drywall, or textured surfaces.

Professional Installation: Finally, our team installs the wrap with precision, using techniques like heat application for brick or block walls, to ensure a smooth, long-lasting finish.

The result: A seamless, professional wall wrap that enhances your space, reinforces your brand, and creates an environment that inspires students, staff, or customers.
At Cullen Ink, every step of the design process is handled with care and attention to detail - because we believe great wall wraps start with great planning.


Comments